So, your Molehills quilt should be all planned out now. Is it? If you are having a hard time planning it out, remember scrappy is perfect too. You don’t have to over think it and it will still look great.
Part II will be all about cutting – cutting your templates and cutting your fabric.
CUT TEMPLATES
Version 1:
If you’re making Version 1 then cut one set of the five templates out and tape A, B, and/or C pieces together. You’ll want to match the edges carefully when taping so that your template isn’t askew. How will you know if you’re taping the right templates together? The shapes will match!
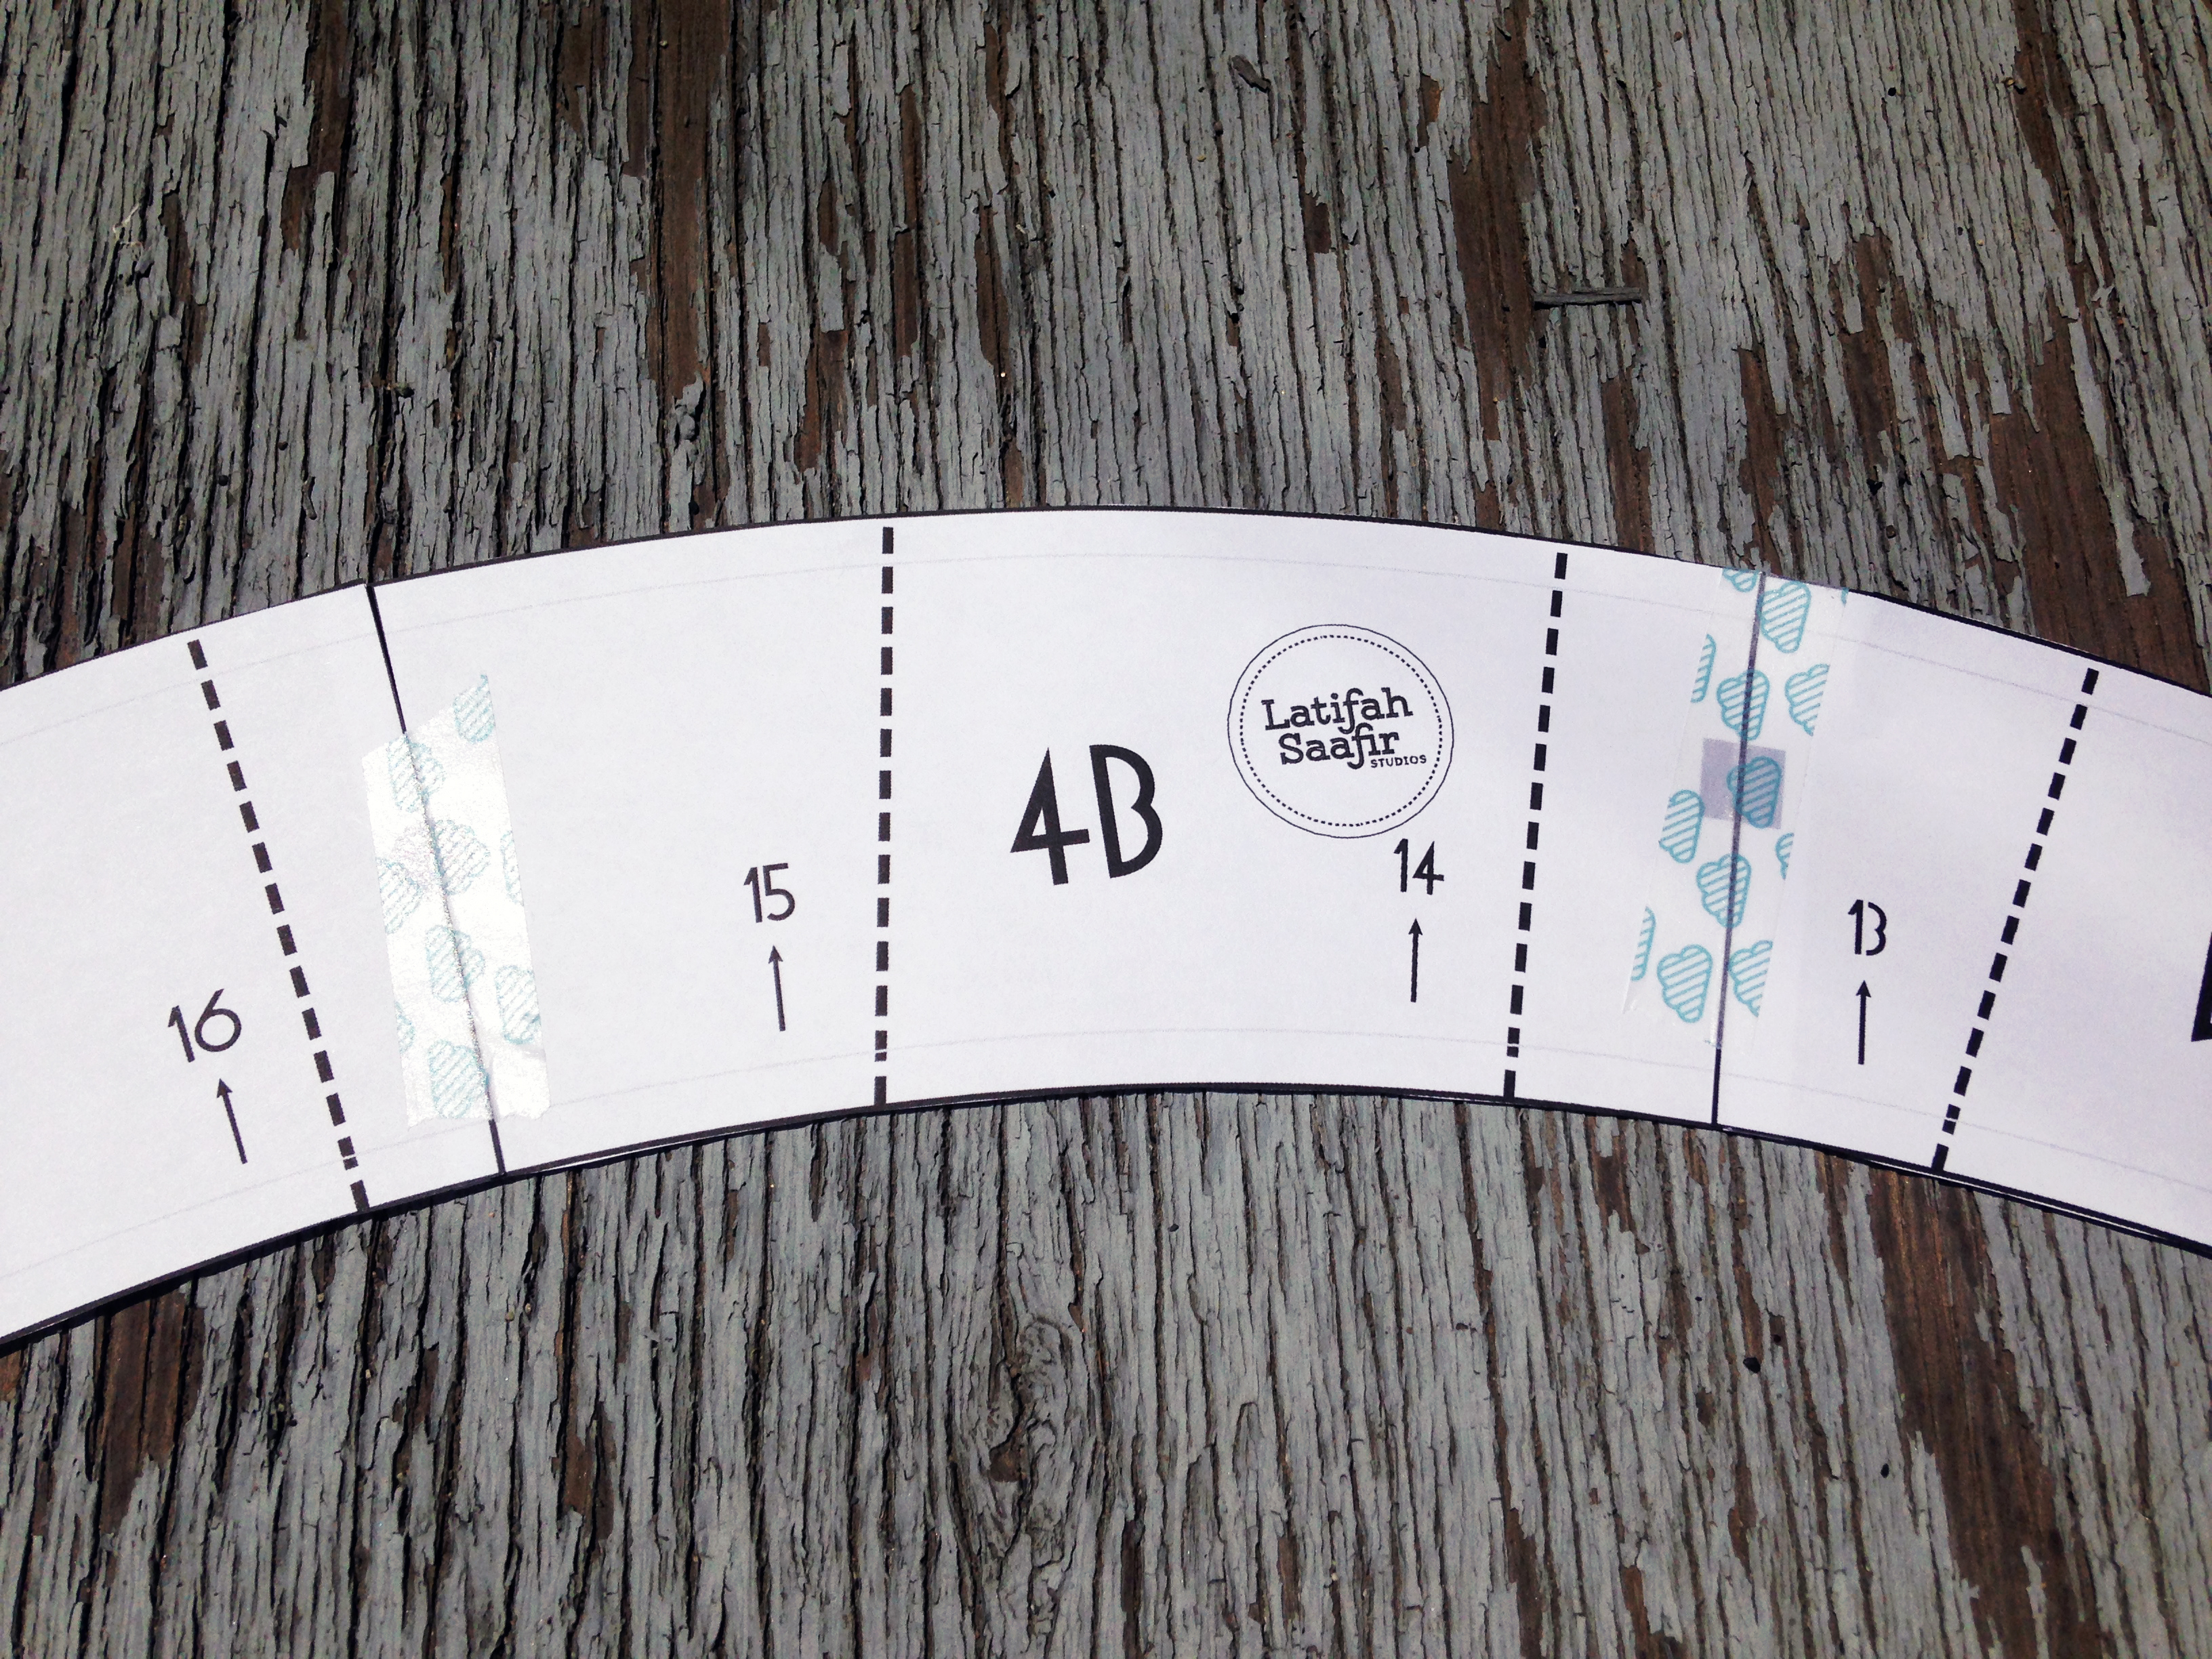
Tape templates together carefully along solid line matching shapes.
Also, I find that if you leave a little overlap one one end of your templates to be taped together that it provides a little more stability.
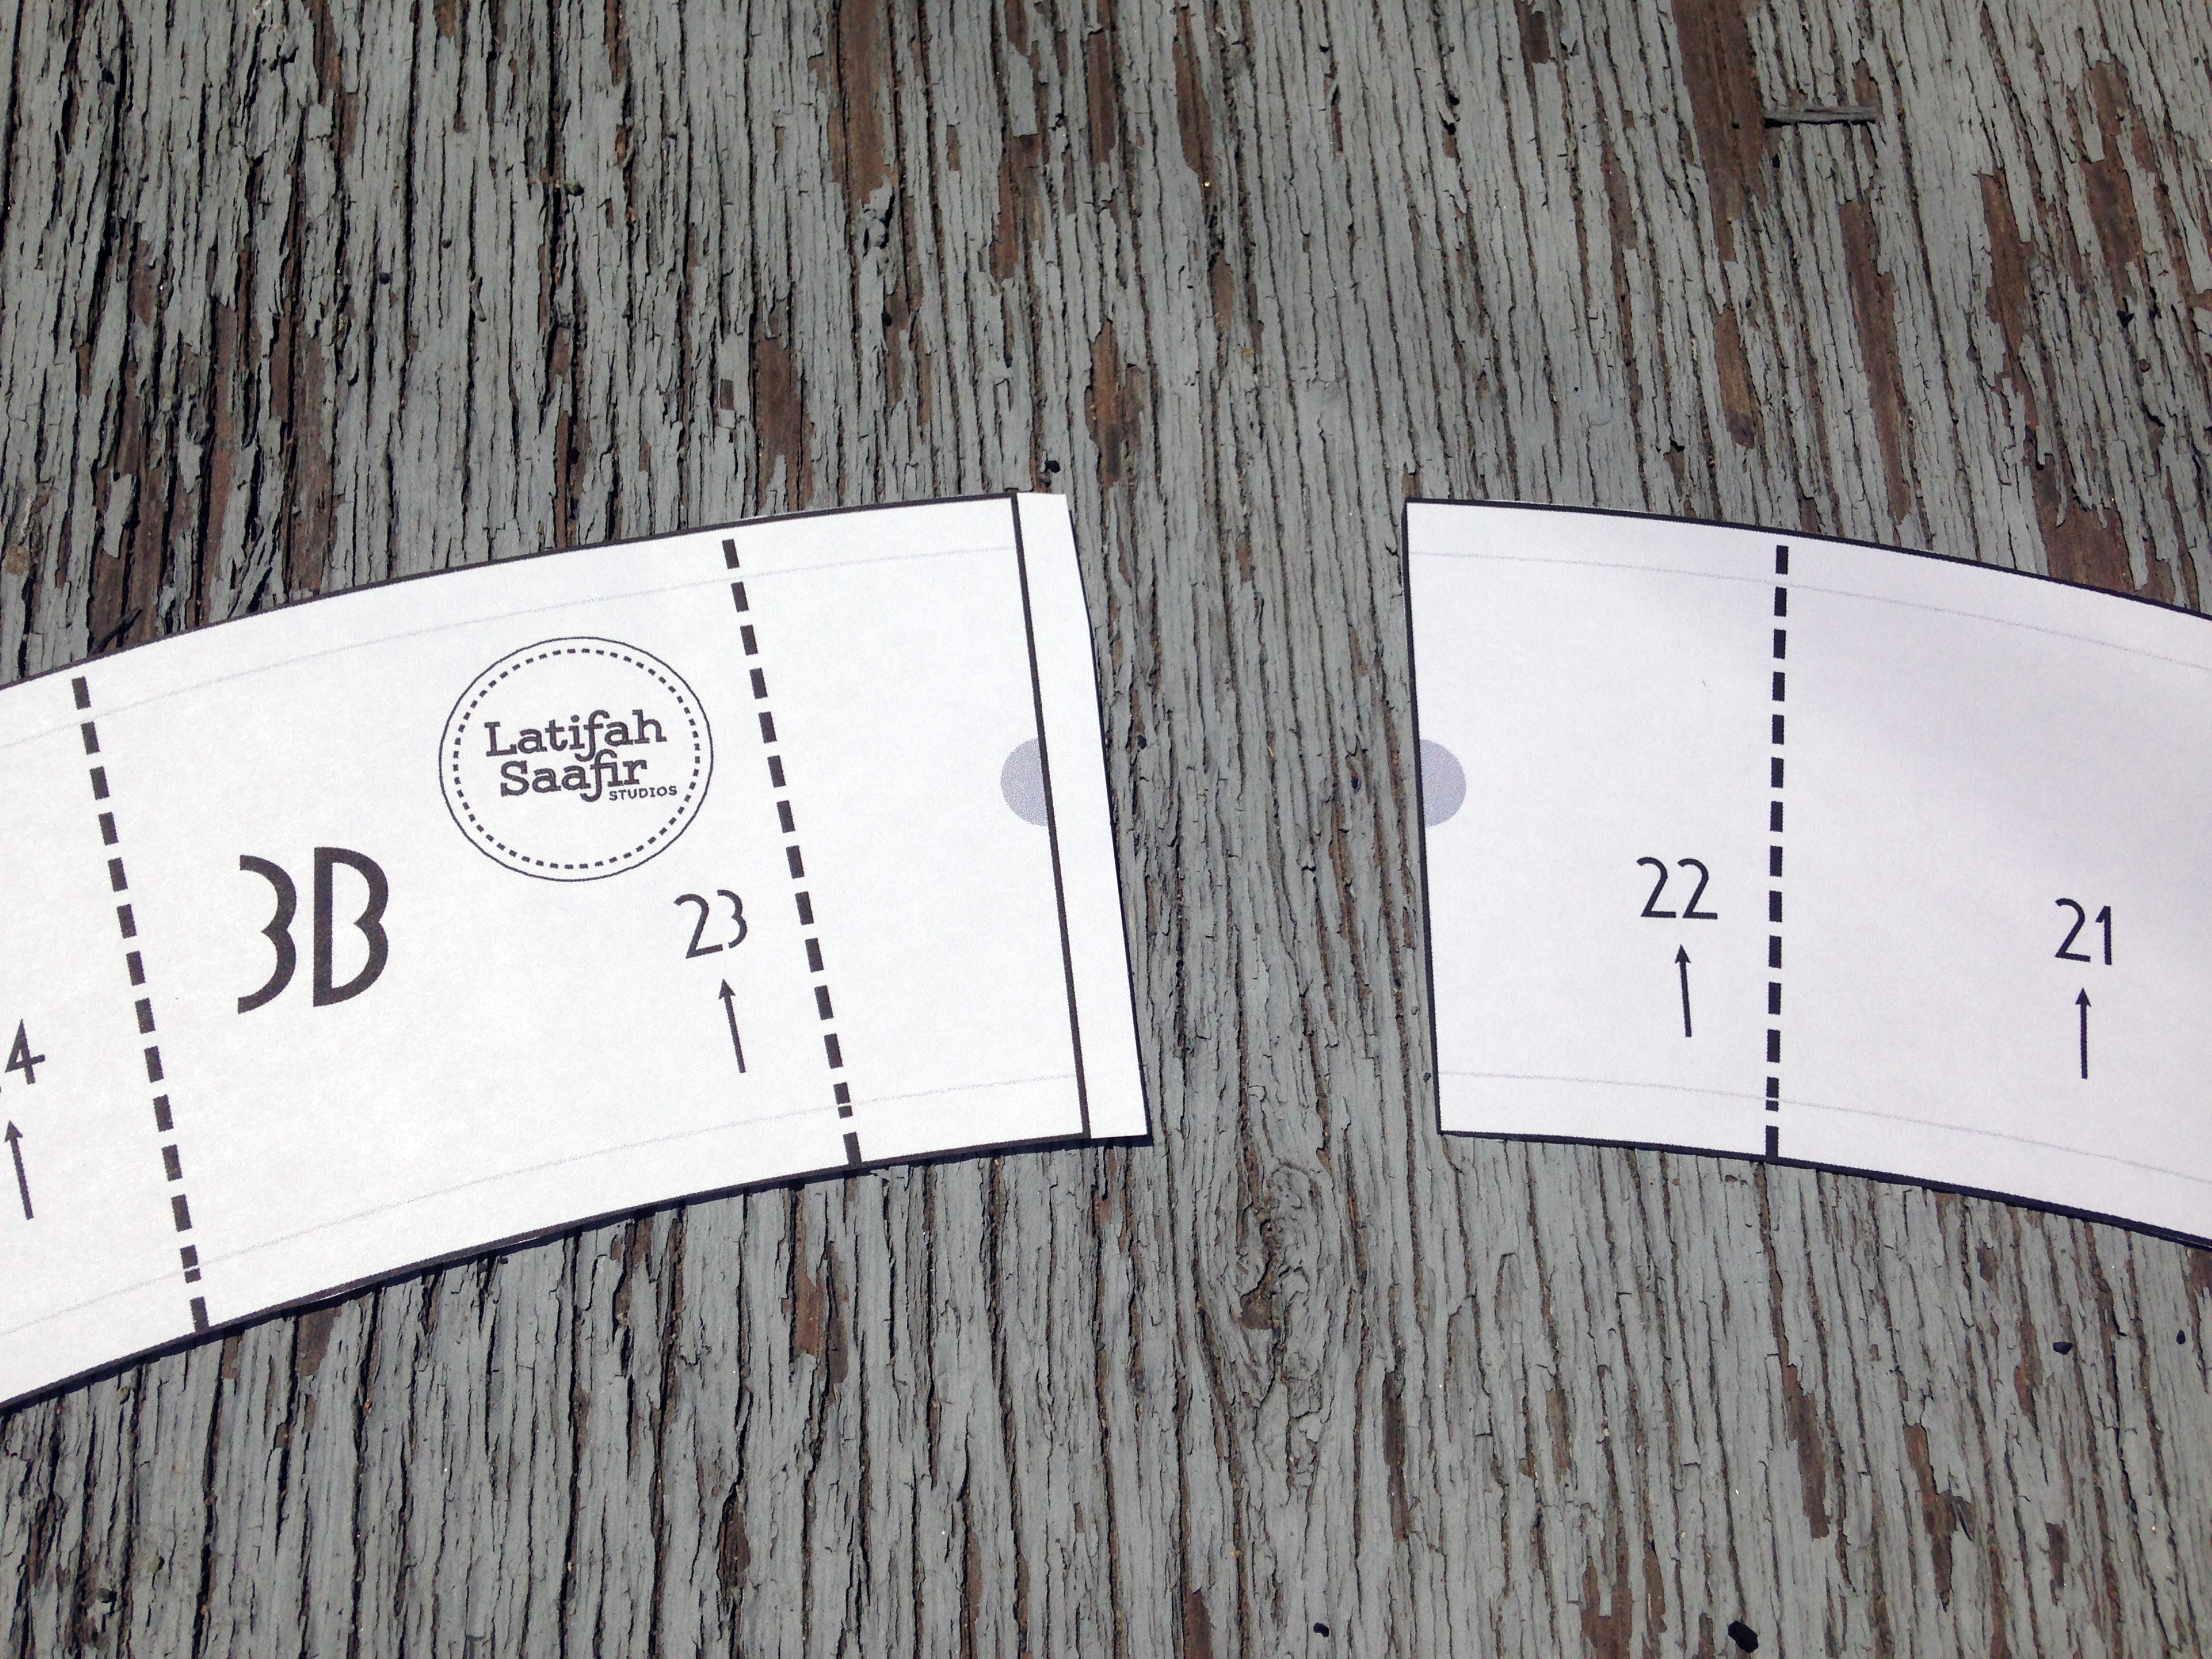
Create overlap for a more secure join.
Version 2:
If you’re making Version 2 or including Version 2 or part of Version 2 in your quilt, then you’ll need a set of templates for EACH fan. Since you will be cutting this out more carefully after it is sewn, then you don’t have to cut these templates out carefully. I actually use my “paper” rotary cutter to cut it out roughly, only cutting it out carefully along the tape line. (HINT: If you do a lot of paper piecing then having a dedicated rotary cutter just for piecing paper is nice!)
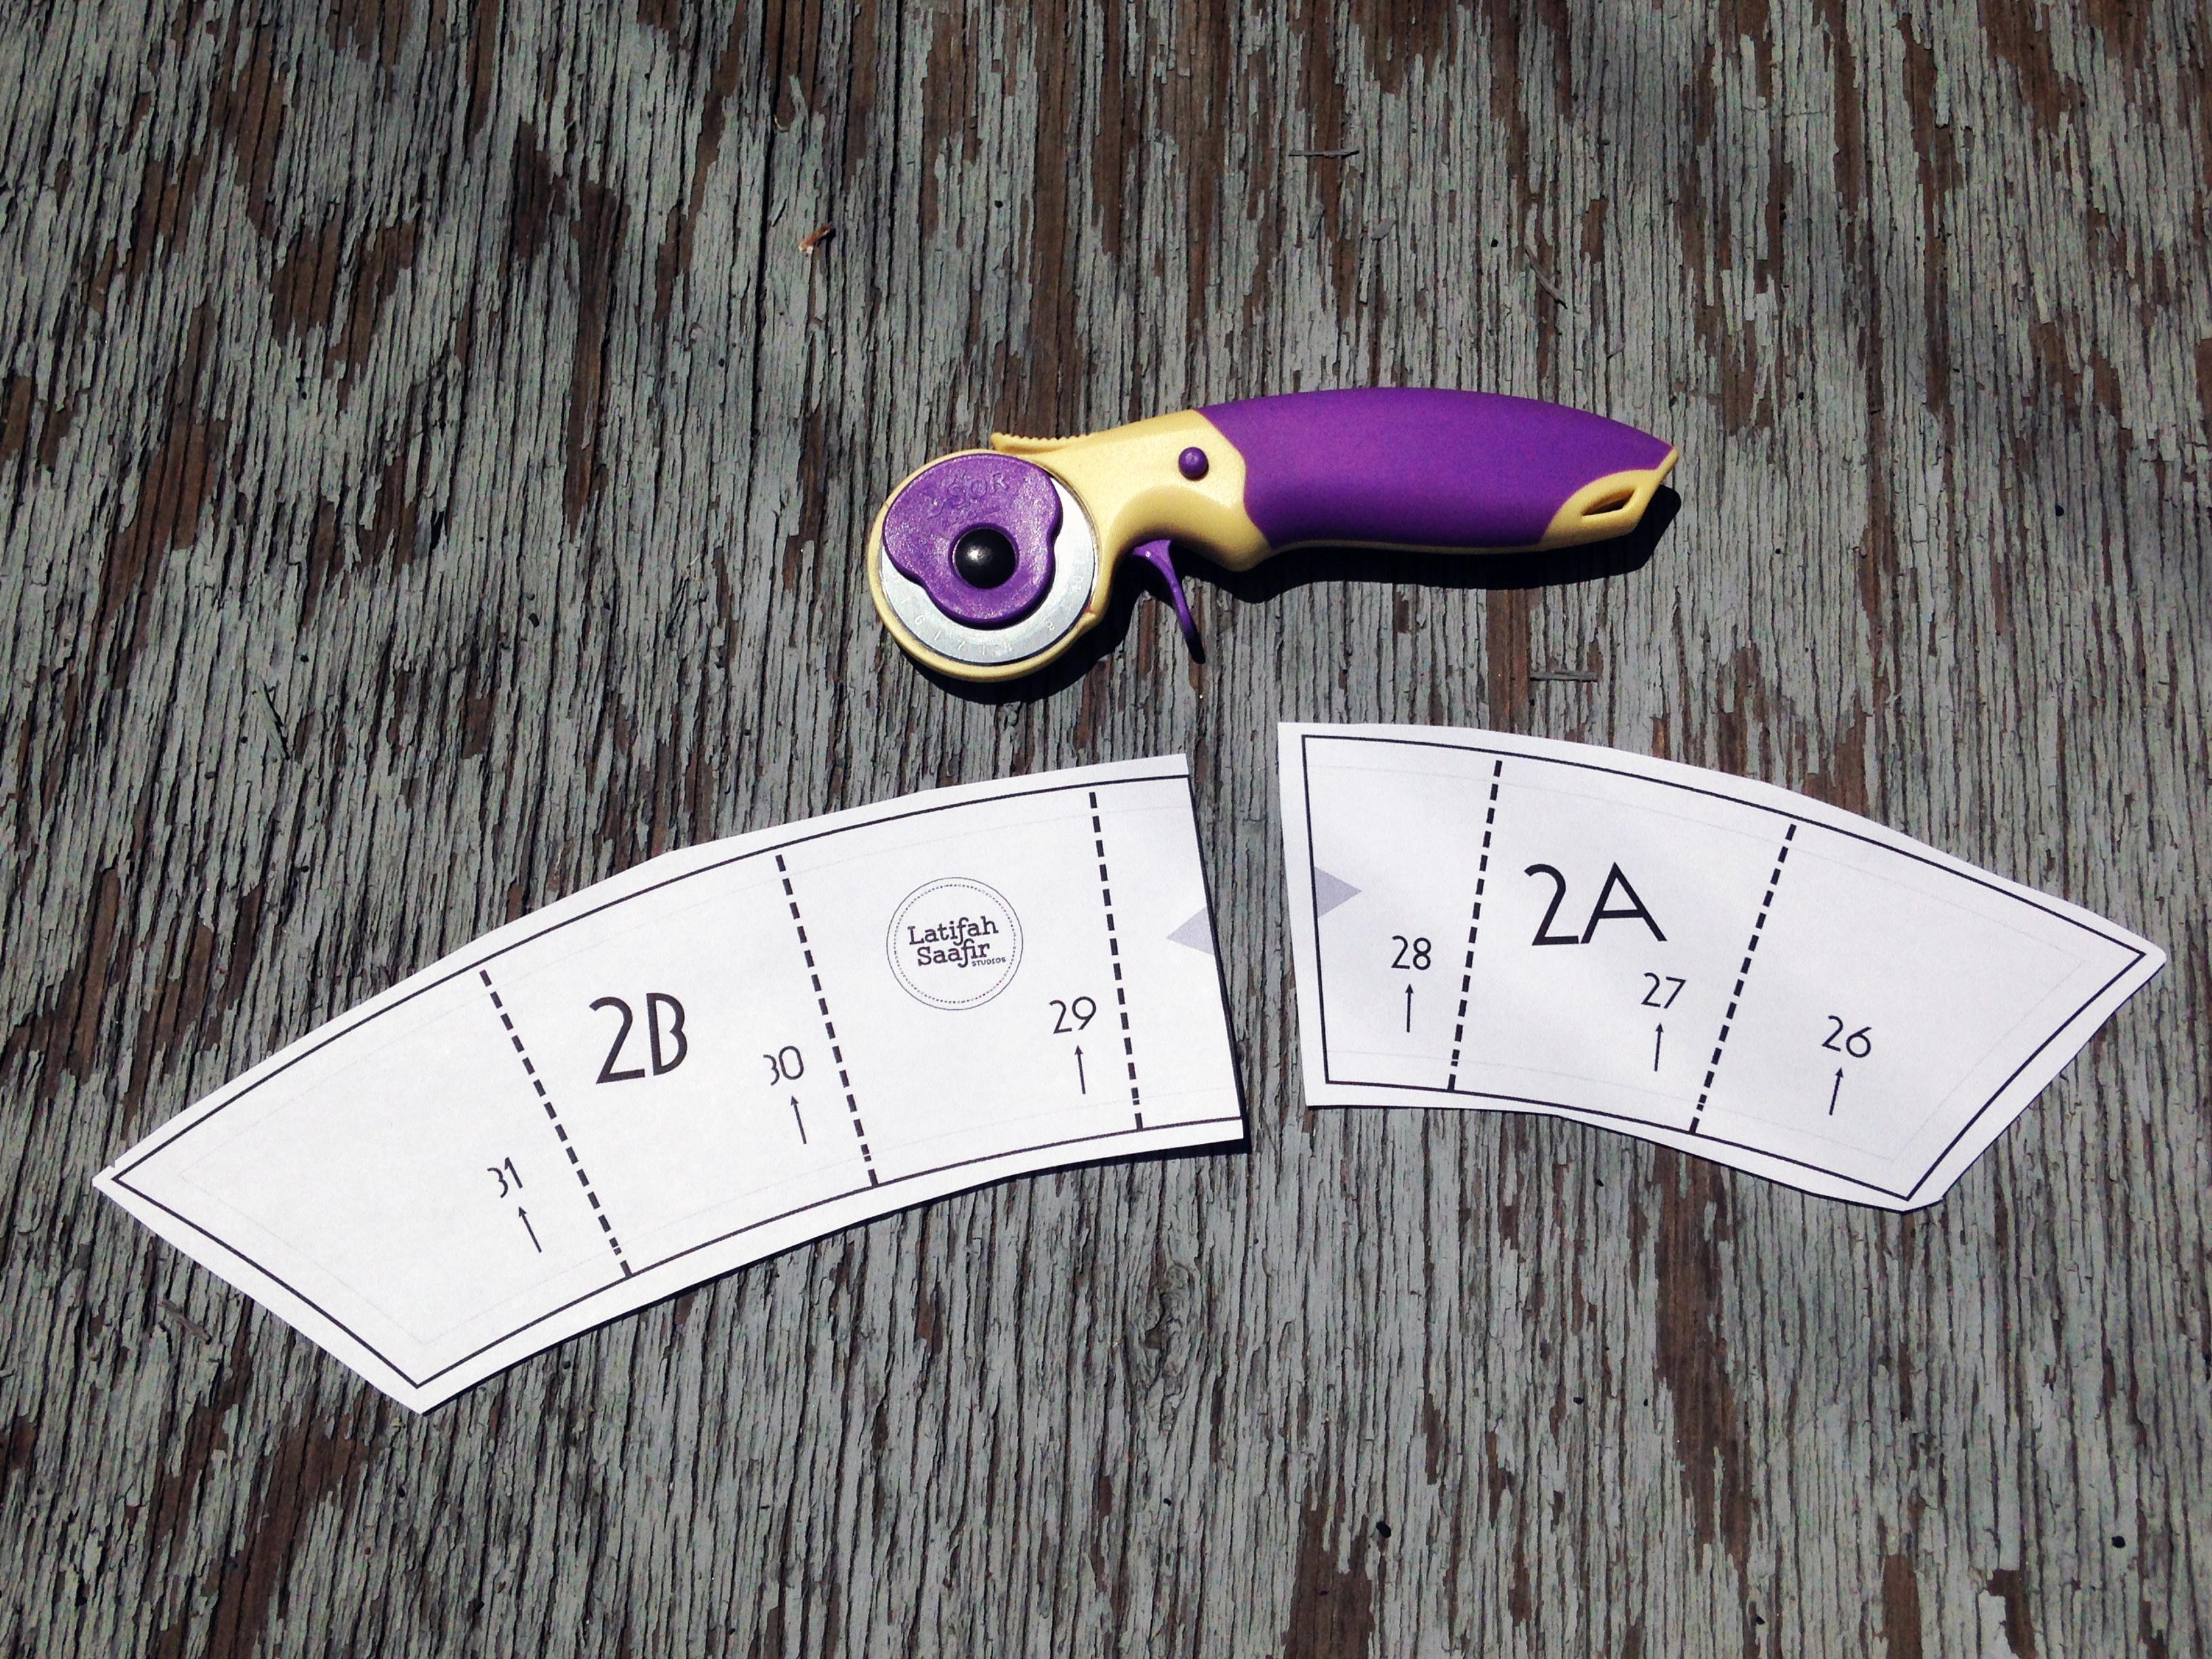
If you’re paper piecing your arcs you can make a rough cut around the perimeter.
Full Fan Version:
You’ll only need one of these. Once again, cut out along solid lines and tape together carefully, matching shapes.
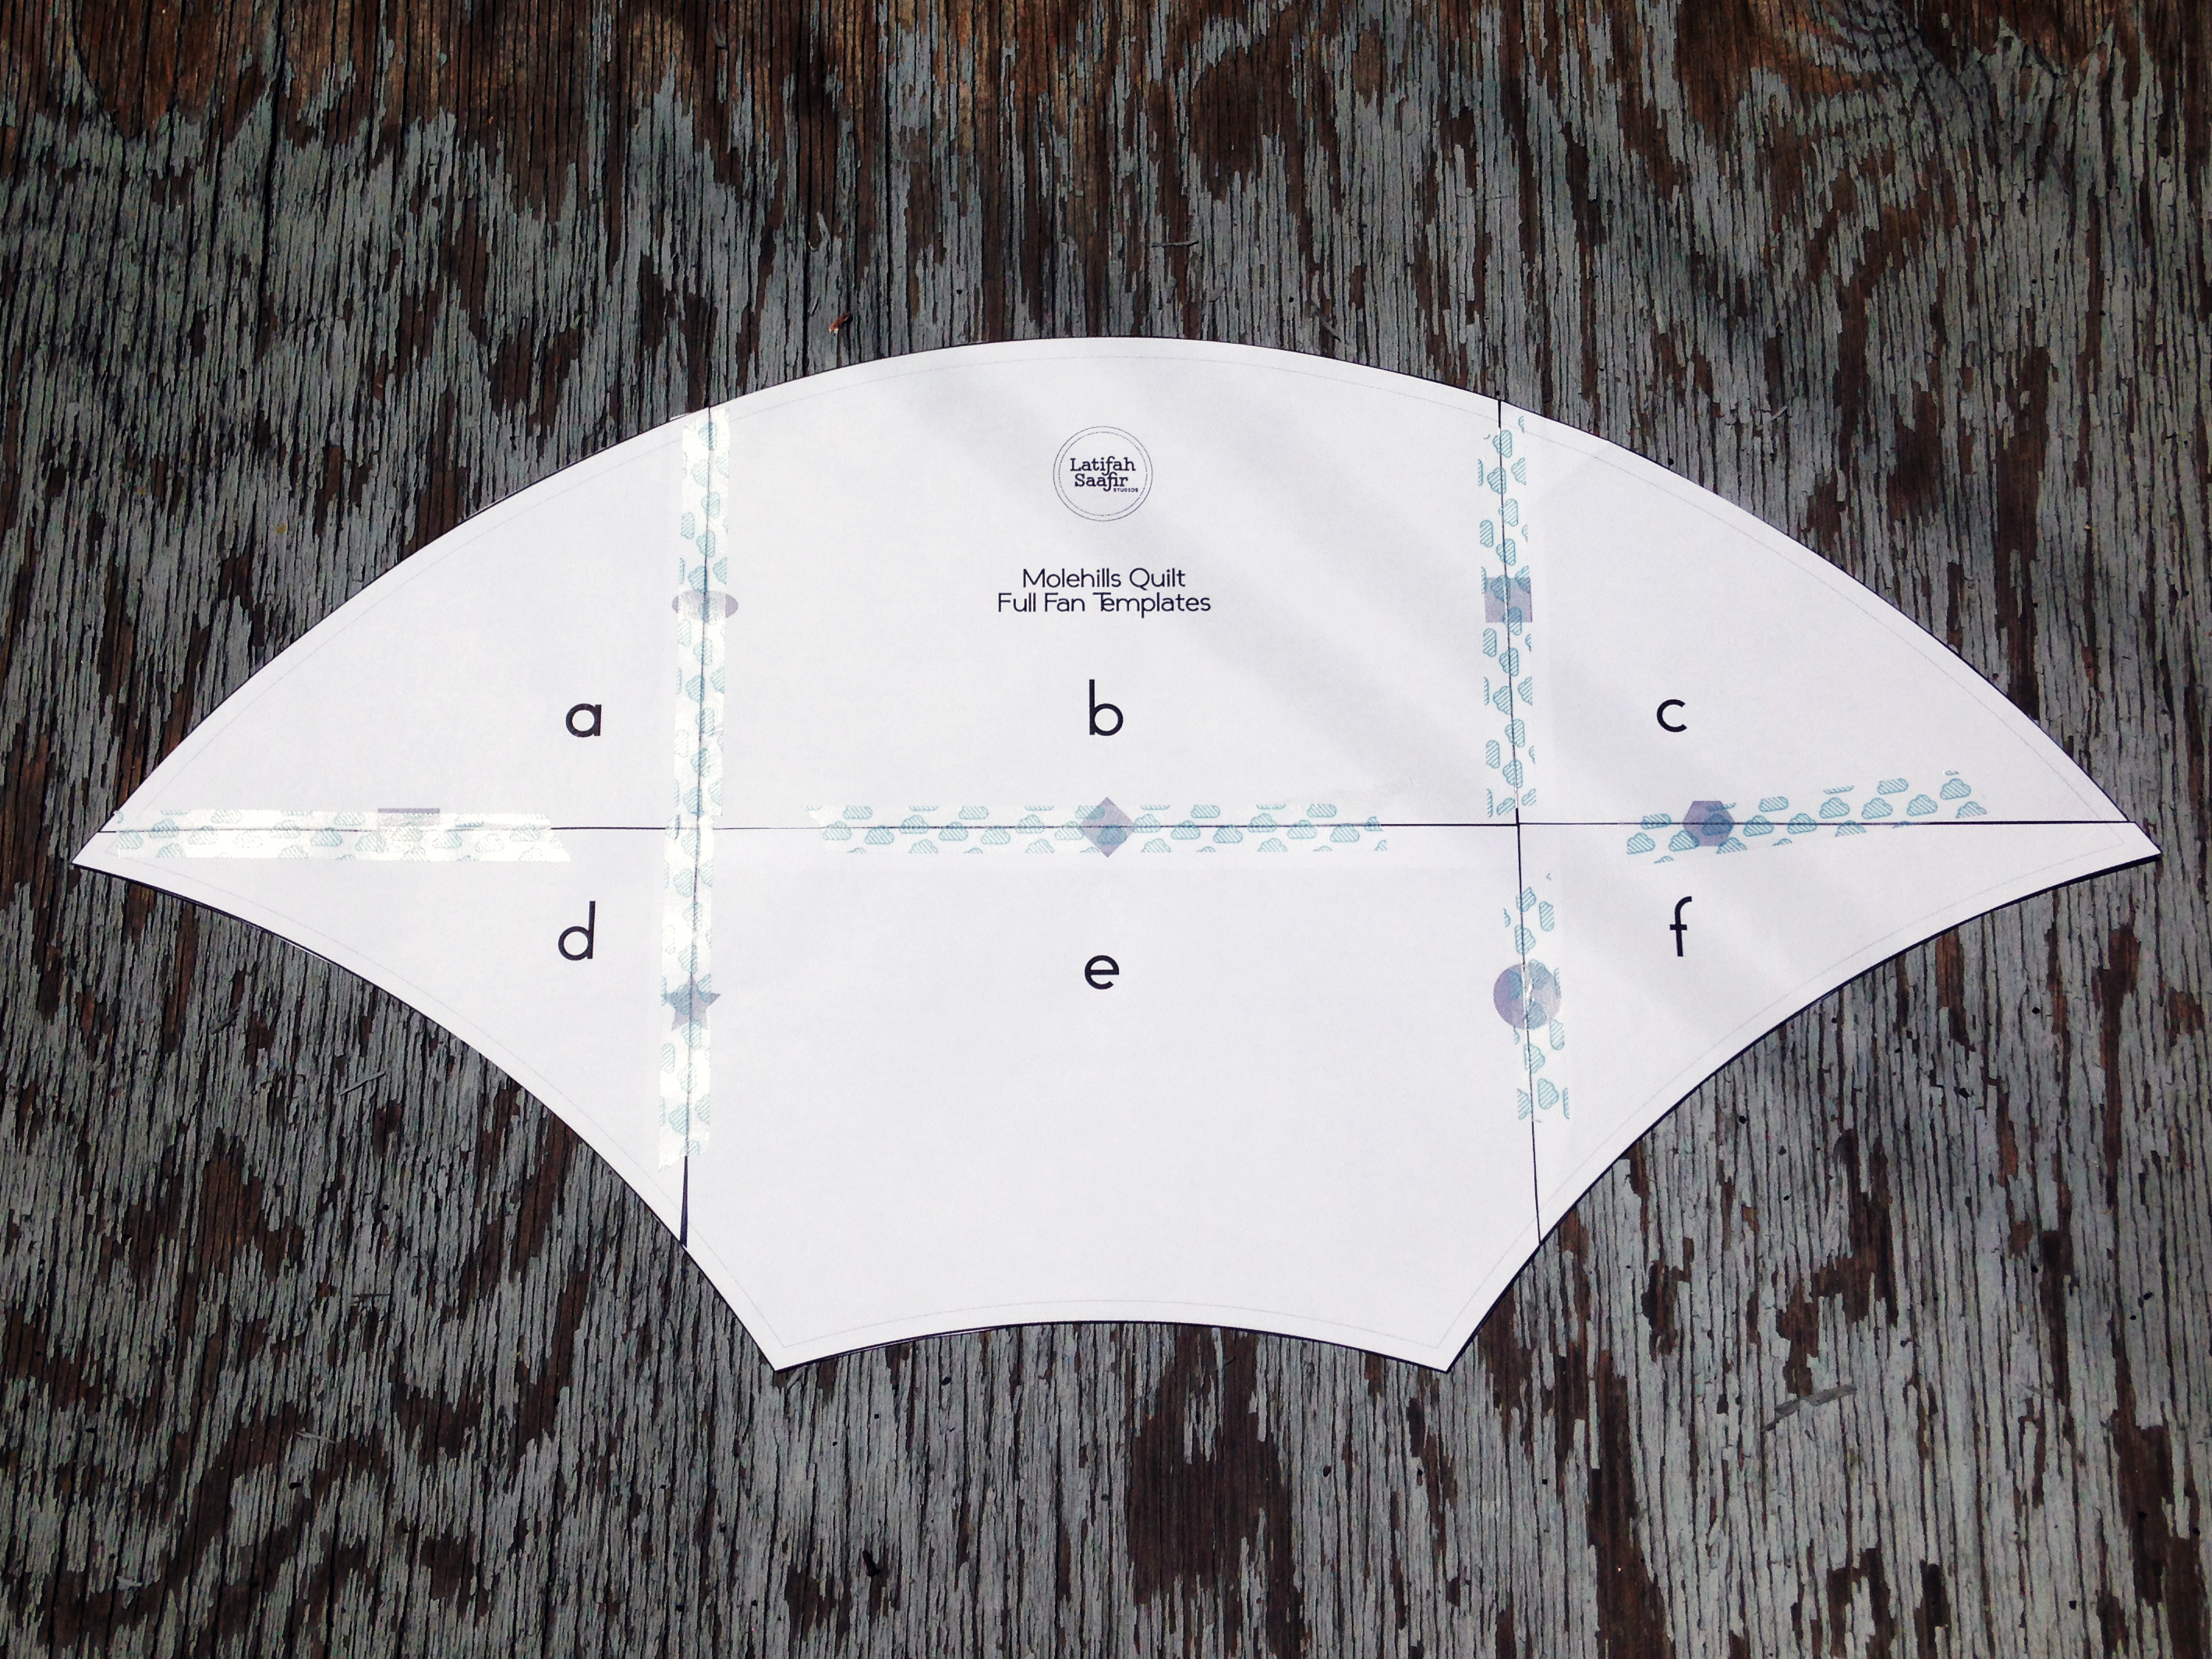
Match shapes and tape together to make full fan template.
CUT FABRIC
I’ve included a great quick video with a few tips on how to cut these out!