My quilt Stairway to Heaven was a cover girl last year! The beautiful publication Quilt Folk featured amazing quilters from Southern California and I was lucky enough to be included along with such greats as Eleanor Burns and the Hoffman California fabric company! It is seriously a beautiful publication and you should check it out!
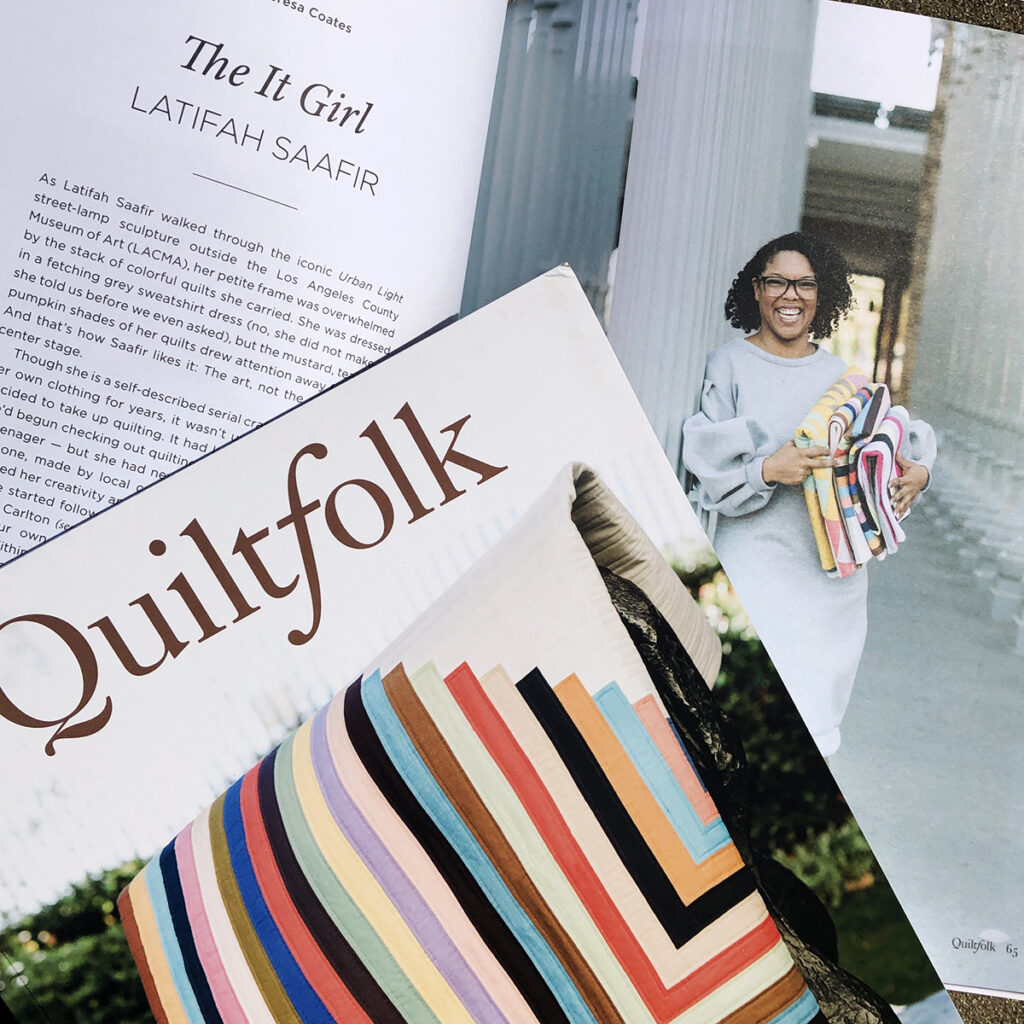
A number of the Quilt Folk readers have reached out to see if I had a pattern to make the cover quilt. I didn’t and so I thought I’d write up a little tutorial. It’s basically one huge rectangular 51″ x 58″ log cabin block. Here is a flat shot of the quilt.

Tips
A couple of pointers before you get started.
- When sewing long thin strips it is ideal that you cut your fabric along the warp or length of the fabric. The fabric is the most stable and has the least amount of stretch along the length so that will give you really straight strips. This isn’t always ideal though since this requires quite a good deal of yardage if you are using a ton of colors. So don’t be afraid to piece your strips to make them longer. The seams will almost disappear with quilting.
- Strips will always be added in a clockwise order
- This tutorial is to make the quilt pictured – a small 51″ x 58″ throw. Feel free to make your quilt bigger or smaller as desired. It’s best to work backwards deciding your final size first then using that to determine the length of your first/center strip. Just subtract the shorter length from the longer length and then add 1 1/2″. These are the steps:
- First decide what dimensions your finished quilt will be.
- Example: 60″ x 72″
- Subtract the smaller number from the larger number.
- Example: 72 – 60 = 12
- Then add 1 1/2“
- Example 12 + 1 1/2 = 13 1/2″
- Cut center strip 1 1/2″ x _______________”
- Example: 1 1/2″ x 13 1/2″
- First decide what dimensions your finished quilt will be.
Fabric Requirements & Planning
Fabric 1: 2 yds of all one fabric. I used a solid Snow White in my quilt but I think another solid color or even a print would be lovely! The possibilities are endless. Here are a few fun ideas:


Fabric Group 2: This group uses 26 pieces of fabric – one for each round. Each strip is 1½” wide. The center strip is the shortest at 1½” x 8½”. The longest strip needed is for the outermost round You’ll need 1½” x 58½” and one 1½” x 51½”. So to have a continuous strips you would need just under 1⅔ yd fabric. I usually work with the largest cuts of fabric that I have so I have minimal seams in each strip. But feel free to piece strips together to get the length that you need! Honestly, when I make this I don’t measure a lot. If I do pre-cut my strips I just cut more than I think I’ll need so I can make decisions as I go along. I do plan a bit. You CAN randomly select a new fabric for each round. My mind likes a bit of planning though. So, I lay out each fabric in the order that I would like them to appear in the quilt balancing color and contrast.
Coloring Sheet
Just for you – here is a coloring sheet for you to play with color and layout before you get started! Click button to download.
Pre-Cut
- Pre-Cut Fabric 1 into 1½” strips along the length of the fabric.
- You can pre-cut Fabric in Group 2 but, I cut it just before I sew each round cutting a few more inches than I think I need. In any case you will cut 1½” strips
Cut, Sew, Trim. Repeat.
- Cut your center strip 1½” x 8 ½”.
- Make sure that your Fabric 1 strip is at least as long as the right hand edge of strip. Sew to right hand side of center strip.
- Trim so that bottom and top edges are even.
- Sew Fabric 1 strip to bottom. Trim so that sides are even.
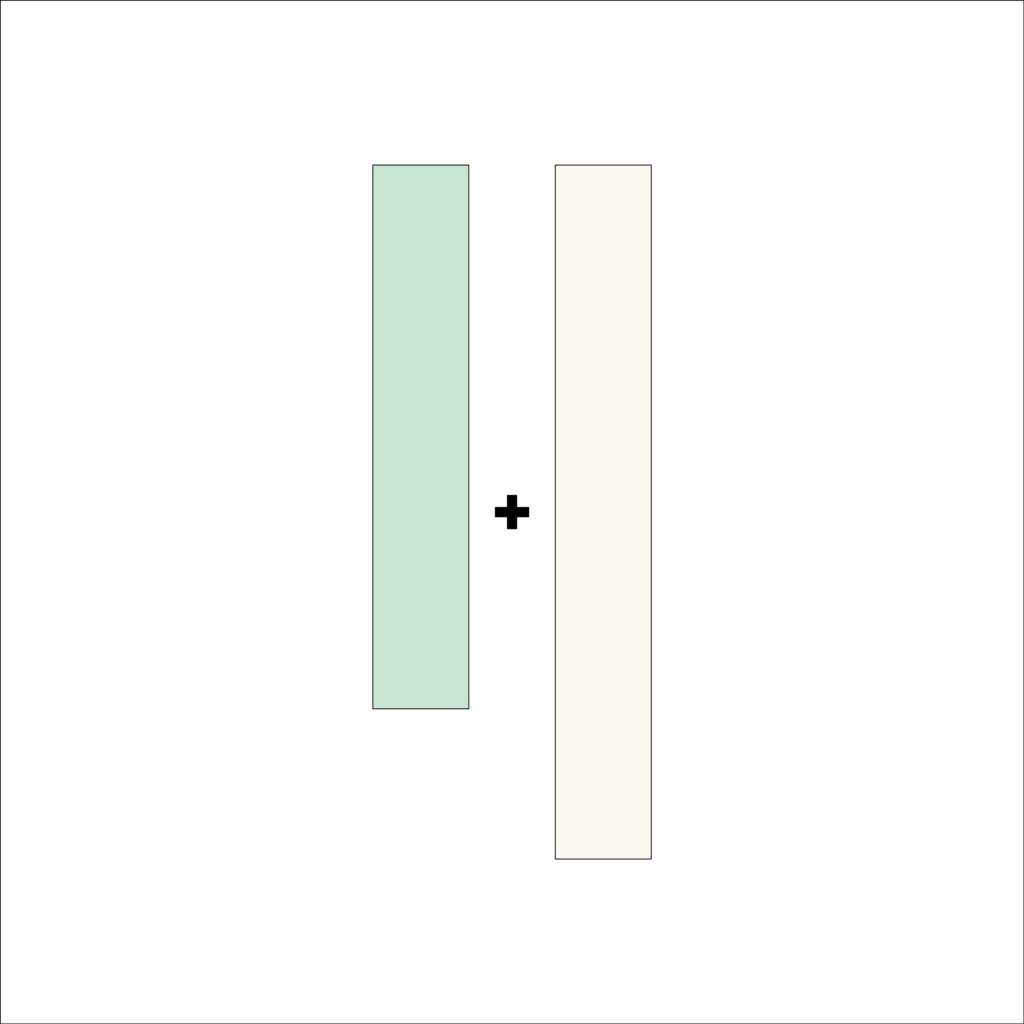
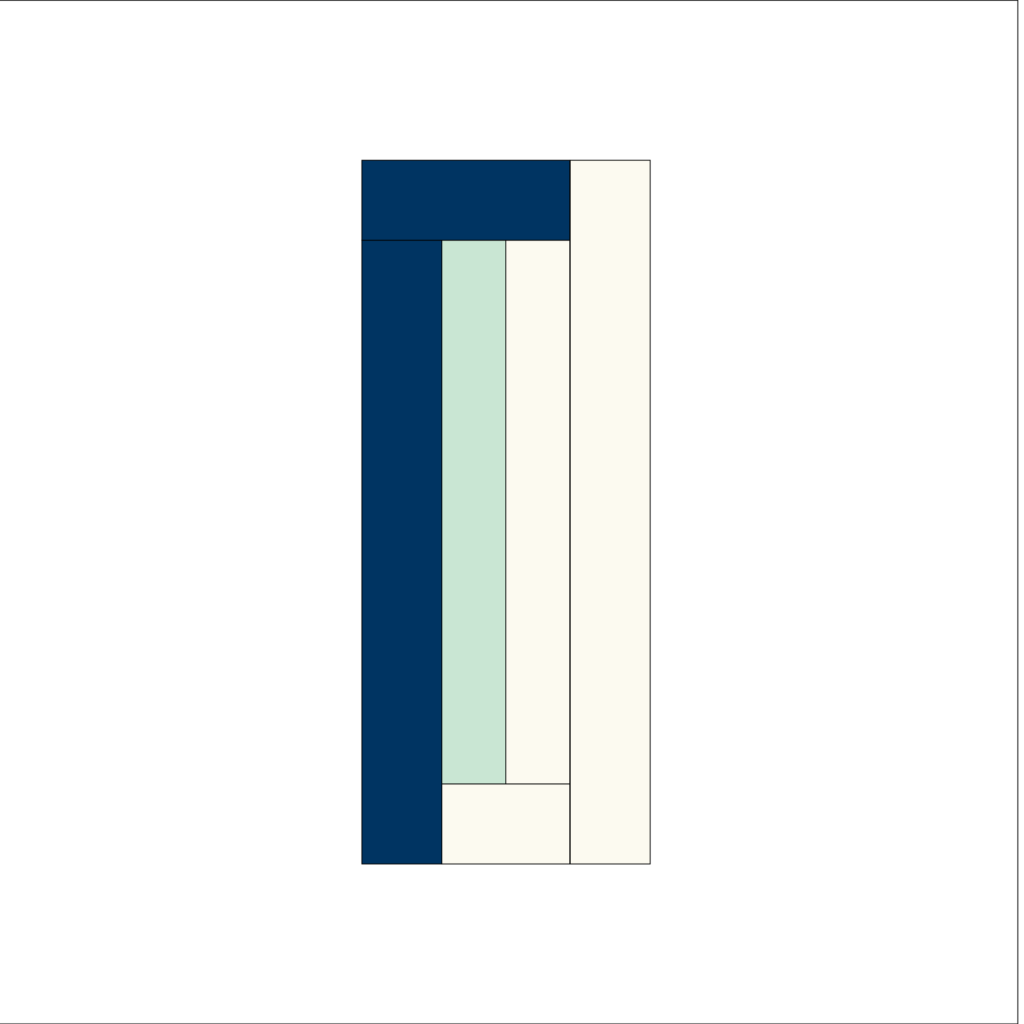
Sew Fabric 1 strip to right hand side of center strip. 
Trim so that bottom & top edges are even. 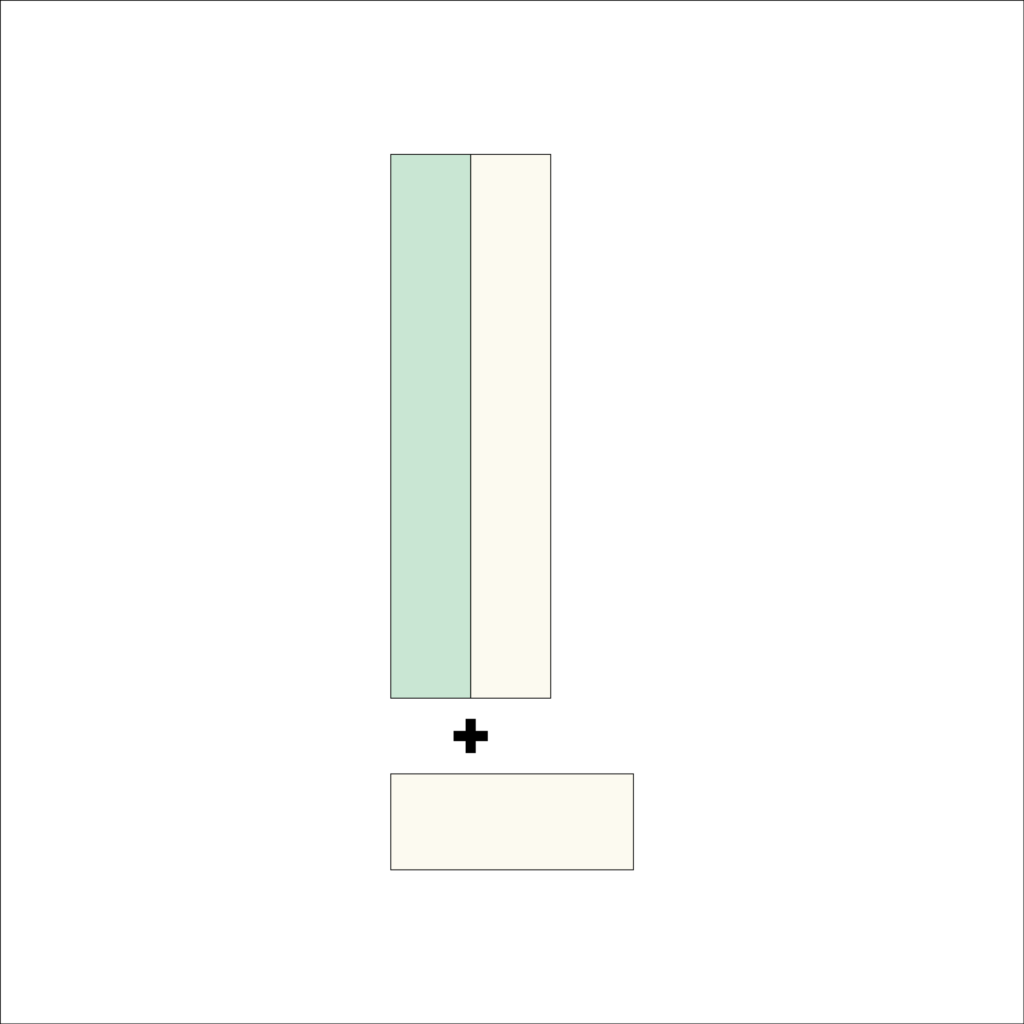
Sew a Fabric 1 strip to the bottom.
- Select next round of fabric from Fabric Group 2. Sew to the left hand side. Trim so that top and bottom edges are even.
- Sew same Fabric Group 2 strip to top edge. Trim.
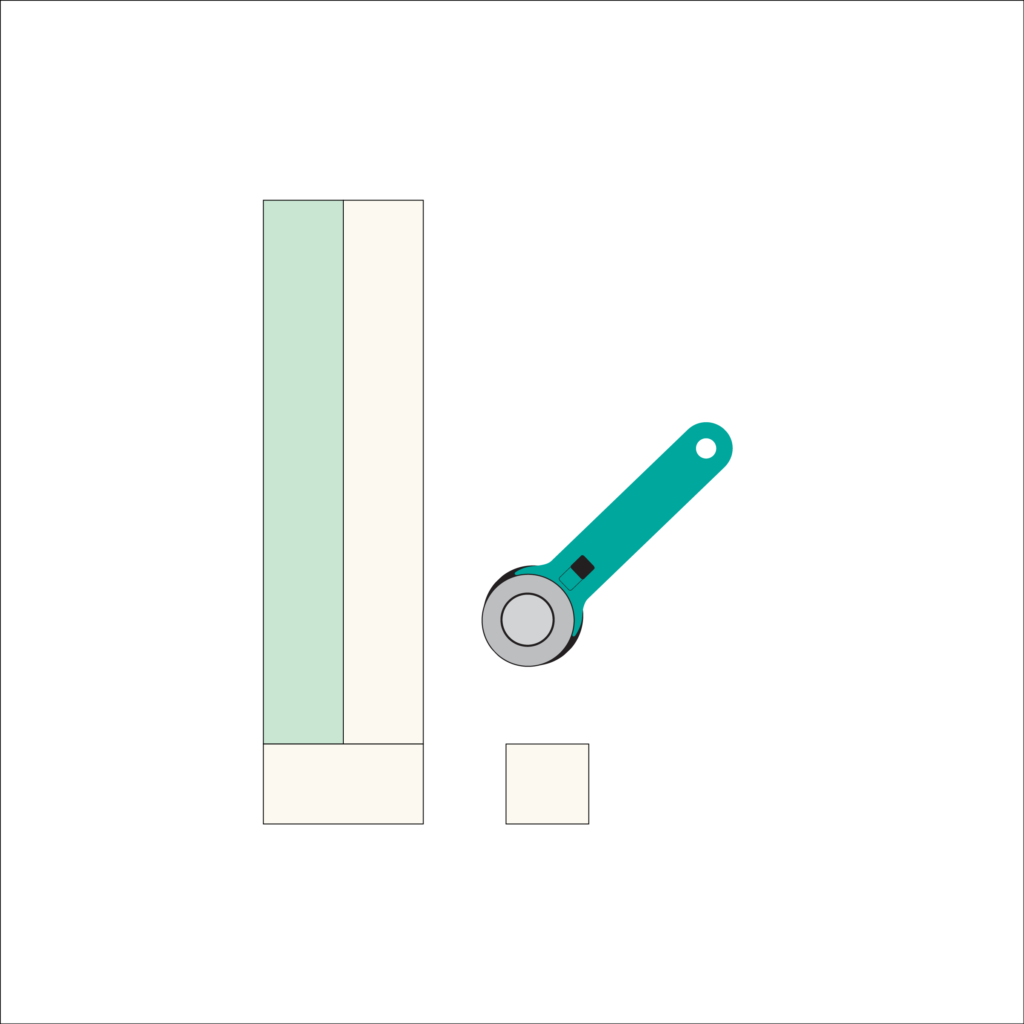
Trim 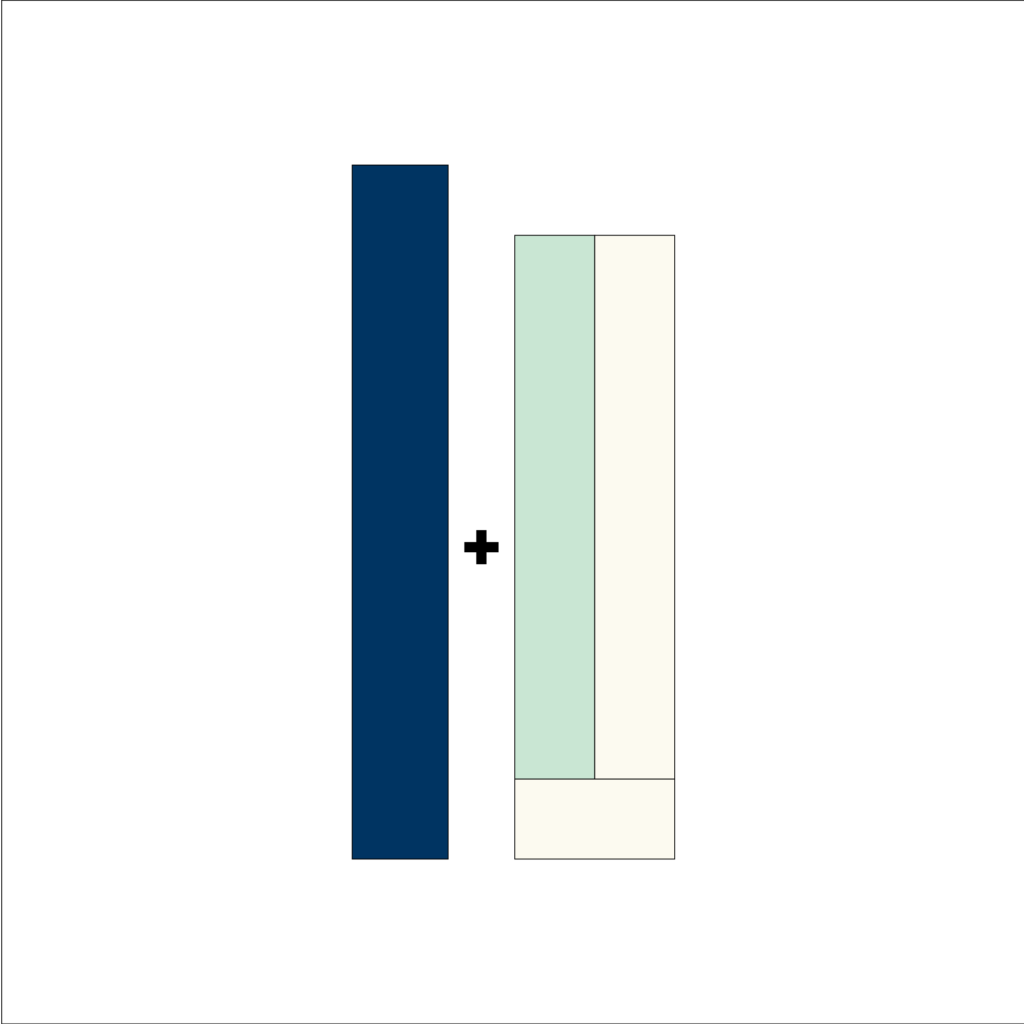
Sew next Fabric Group 2 strip to left hand side. Trim. 
Sew strip to top edge. Trim.
- Repeat steps 2 through 6 until all rounds are sewn. Remember each round includes Fabric 1 sewn to the right hand side and bottom edge. And one piece from Fabric 2 to the left hand side and top edge. Each piece is added in a clockwise order.
Repeat. . . 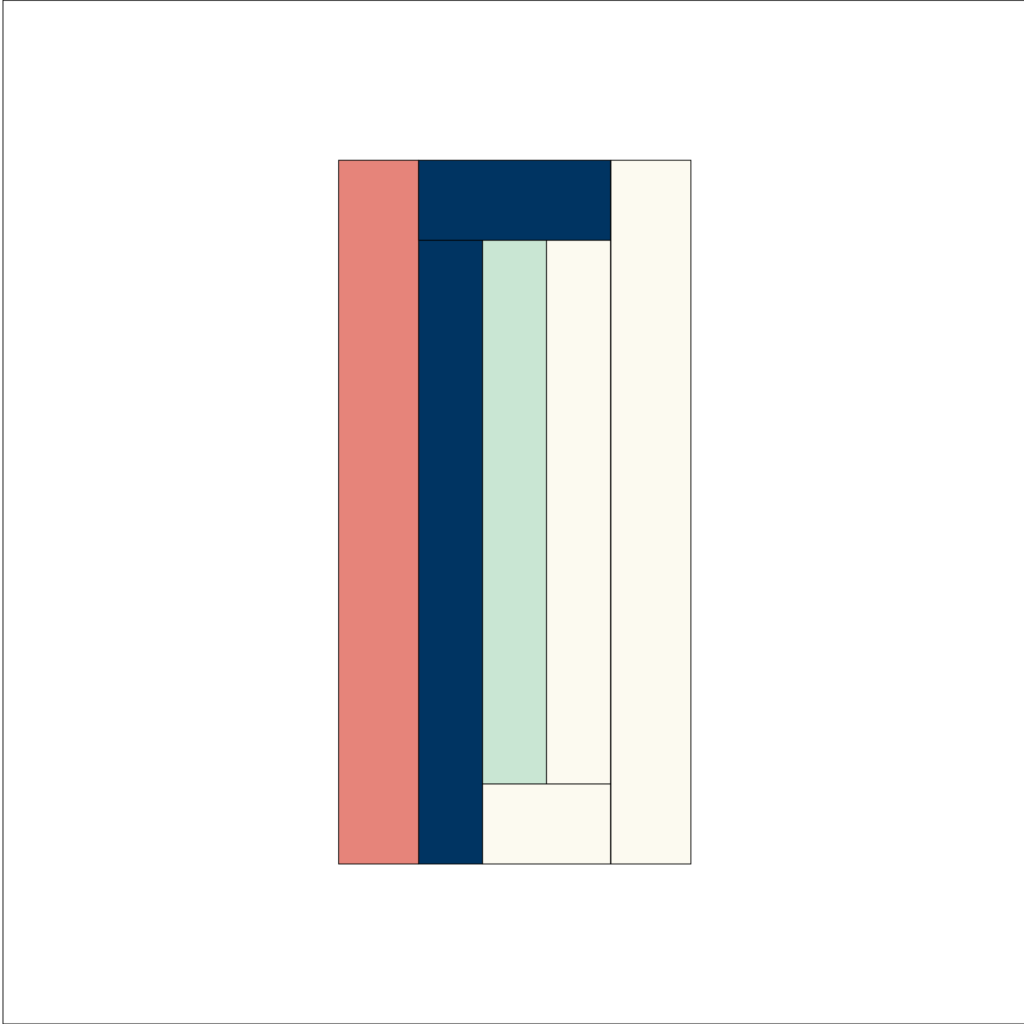
Repeat. . . 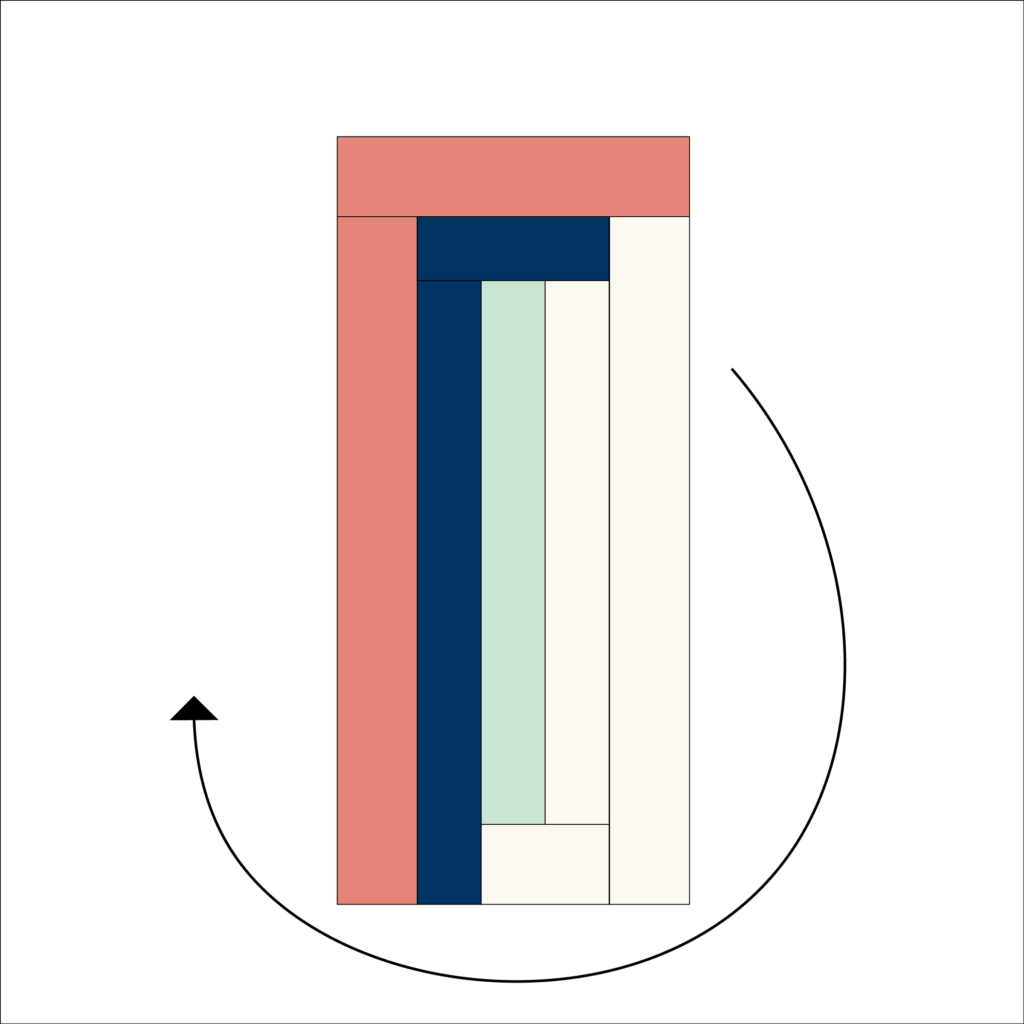
Repeat! Remember you’re adding strips in a clockwise direction.
That’s it! I hope you have fun playing with this tutorial. If you share pictures on social media then tag them #stairwaytoheavenquilt so we can all enjoy!