I’ve been wanting to do this for SOOOOOO long – hack my own patterns! Eeeeeek! Ya’ll don’t know how excited I am to finally do this. This Floating Clams Pattern Hack is literally that – a hack of the Glam Clam pattern so it requires that you use the Glam Clam Quilt Pattern and one of the Clammy™ templates. I allows you to highlight an odd number of rows with either a stripe or solid background. I will first give general directions for making any size quilt with any size Clammy™ then I’ll give the specific recipe for making this lap size quilt with this hack using The Clammy™ 8″, a layer cake and a couple yards of fabric!
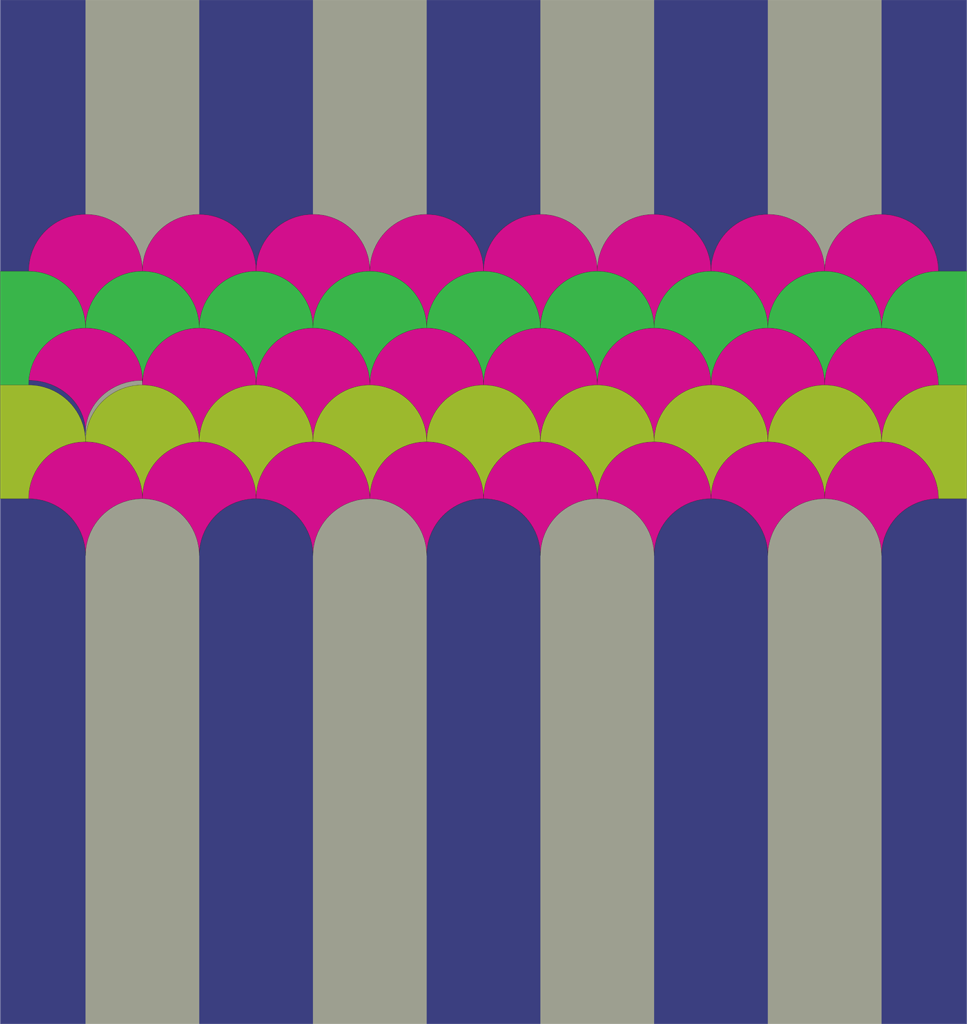
I love that I was able to use just one layer cake on this quilt – because that’s all I had of this yummy African Wax print fabric that I purchased from my friend Heather Givan’s shop Crimson Tate. I paired it with Robert Kaufman’s Essex Linen in Peacock and Indigo. Yummy! I’m so excited to get this quilted!
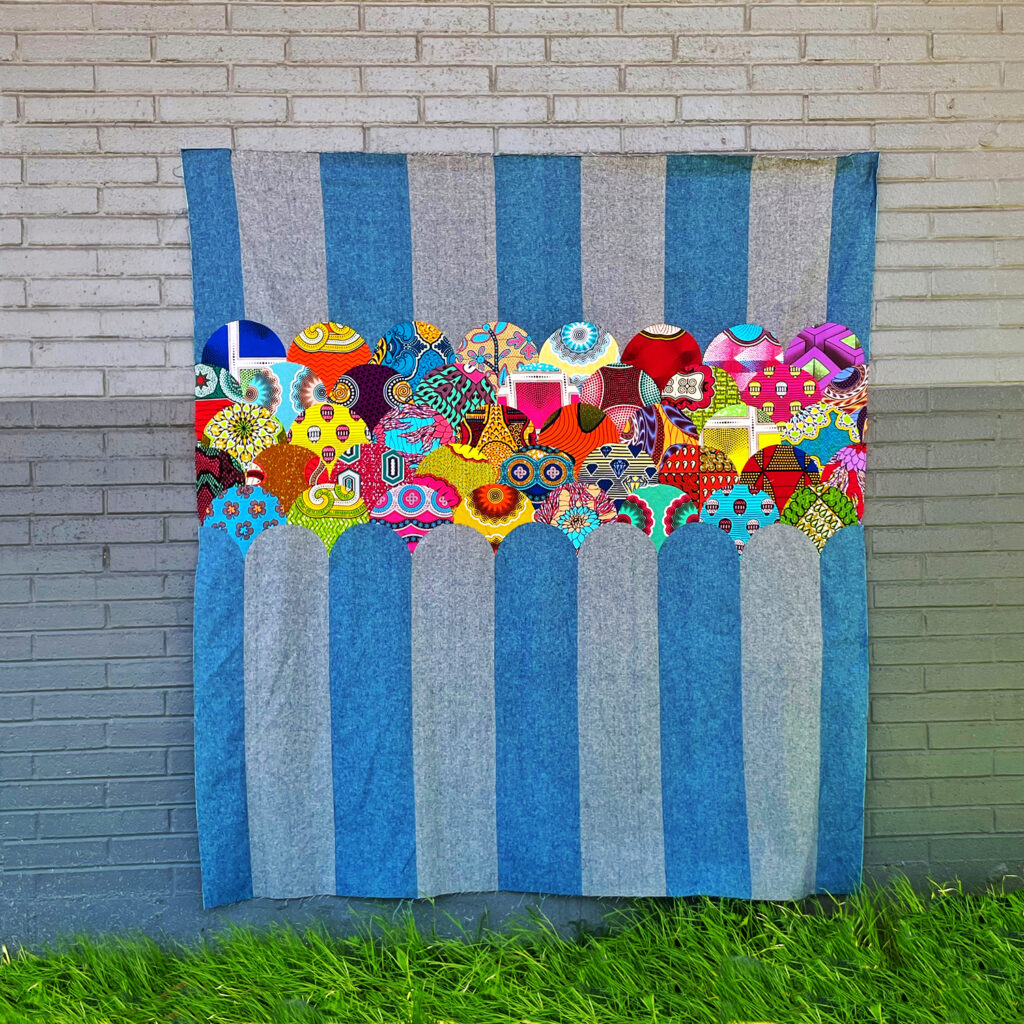
Isn’t it gorgeous?!
Why? When?
When should you use this Hack? Of course it’s just a fun quilt so you can make it just because you think it’s cool. BUT, here are a few cases where it can be helpful:
- You have a bunch of leftover clams and want to make a cool quilt without cutting a TON more clamshells.
- Same as above but you want to use your leftover clams for the back of your Glam Clam quilt. This could be a fun option.
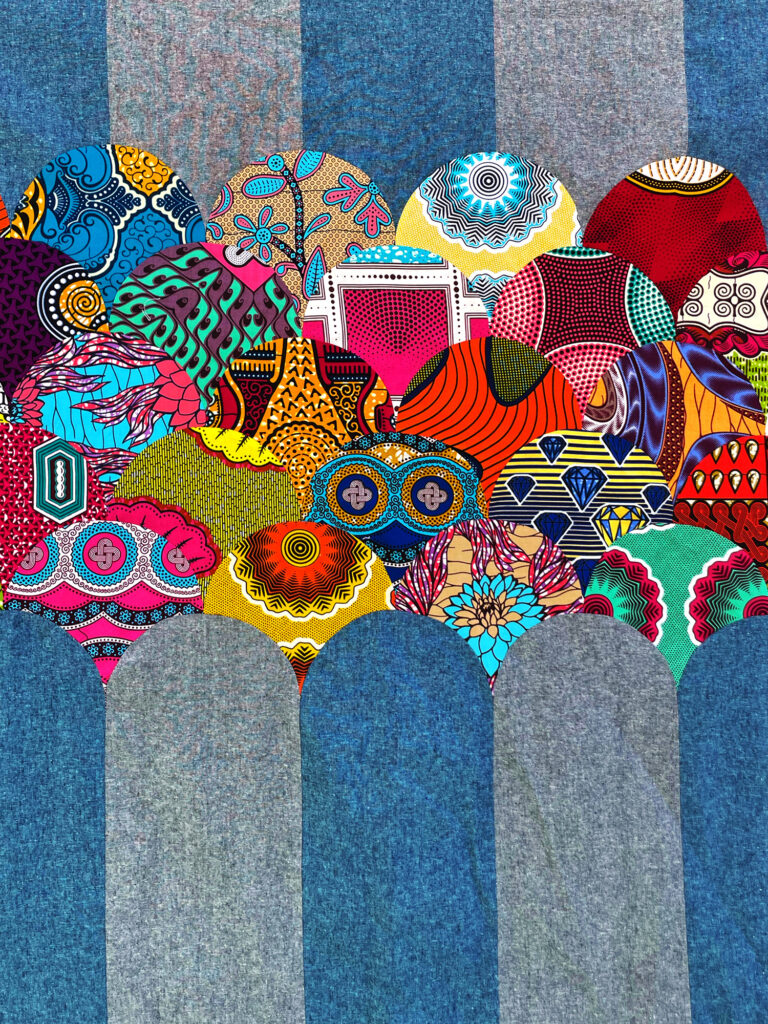
- You have a highly patterned or super saturated fabric selection (like my African wax prints) that might overwhelm a full quilt but you want to use them next to each other. This will help create negative space for your eye to rest.
- You have fabric(s)that you really want to highlight and focus on.
- You want to make a Glam Clam quilt but make it quicker than it would normally take.
- And of course, just ‘cuz it’s pretty cool. 🙂
Make it Your Own
This post is a starting point. Here are some ways you can further make this your own:
- The stripes that you see in my example quilt can be made from one fabric to appear as a solid background or two or more for the stripe effect.
- You can add stripes to the top and have all clams on the bottom of the quilt.
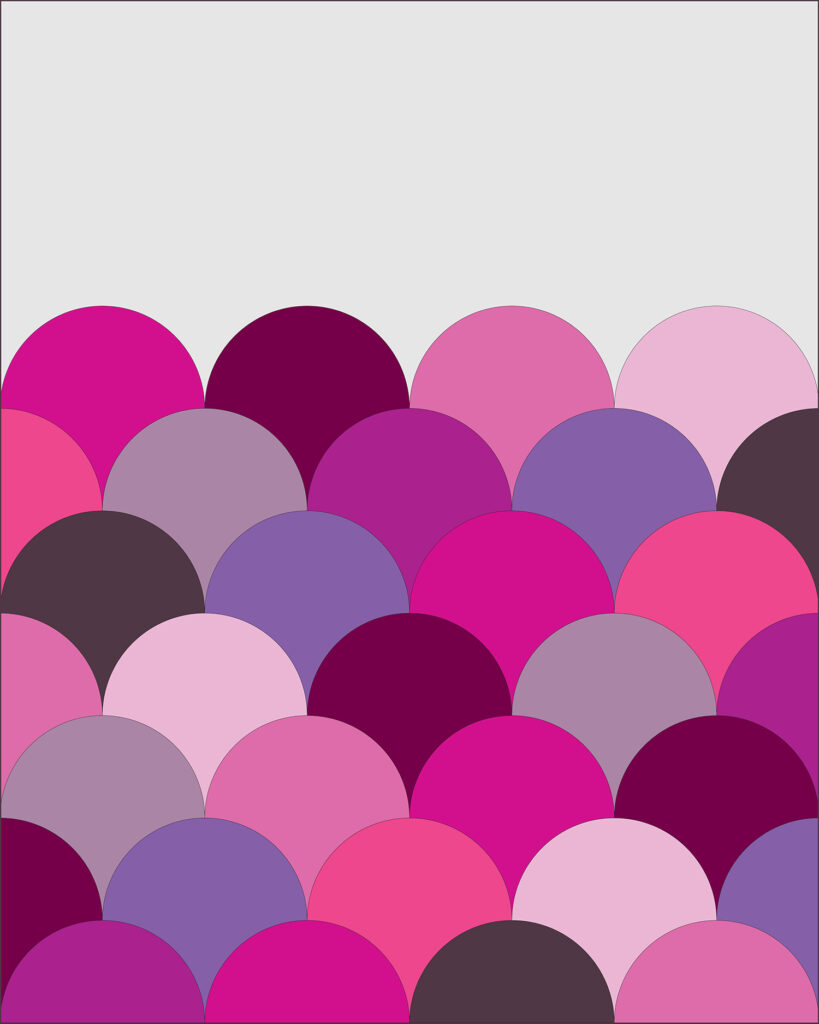
- Or just add stripes to the bottom and have all clams on the top!
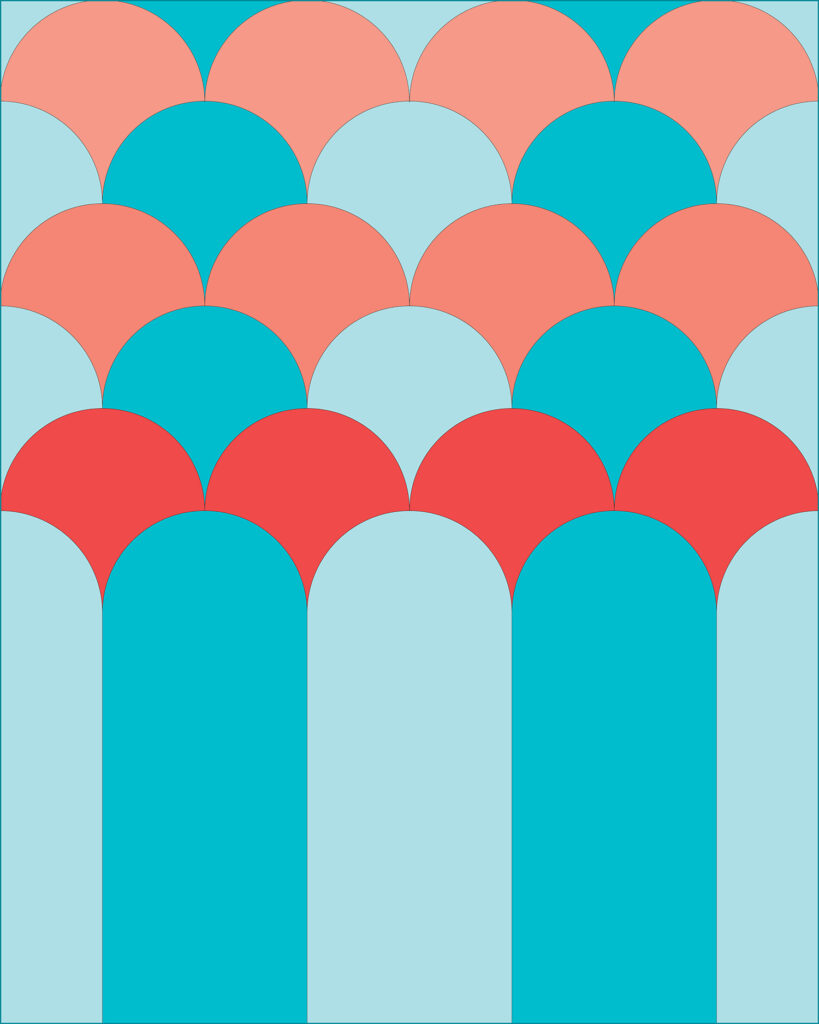
- You can use any odd number of rows of clams if you’re including stripes above and below. Or any number if you’re including stripes either above or below the clams. I included five because that worked perfect for the layer cake I used!
- And I’m sure there are more ways to play with this! (Send pics if you do. I wanna see!!!!!)
- . . . I just thought of this – two or more groups of clams with connecting stripes in between!
General Hack
Stripes Above Clamshells
On Page 9 and 10 in the printed pattern (Page 6 in the PDF) you’ll see a chart that says Initial Size for Top Left (B1), Top Right (B2) and Center (C) shapes. According to your Clammy™ size you use the measurement from the chart as a starting point. KEEP the first number – the width of the shape. Then decide how tall you want your strip. Add this number to the second number – the number for the height of the strip. Example: For The Clammy™ 8″ the Initial Cut size for B1 & B2 are both 6¼” x 6¼”. Keep the first number (width) but add your desired height of the strip onto the second number (height). This is your new Initial Cut dimension.
This is how I did that for my lap size below. I wanted my stripes above my clams to be 16″ high so I added 16″ to the second number.
B1/B2 was 6¼” x 6¼” it became 6¼” x 22¼”
C was 8½” x 6¼” and it became 8½” x 22¼”
Easy, right? Feel free to round the height number up so that you have room to square down after it’s all pieced. so 6¼” x 22¼” will become an easy 6¼” x 23″
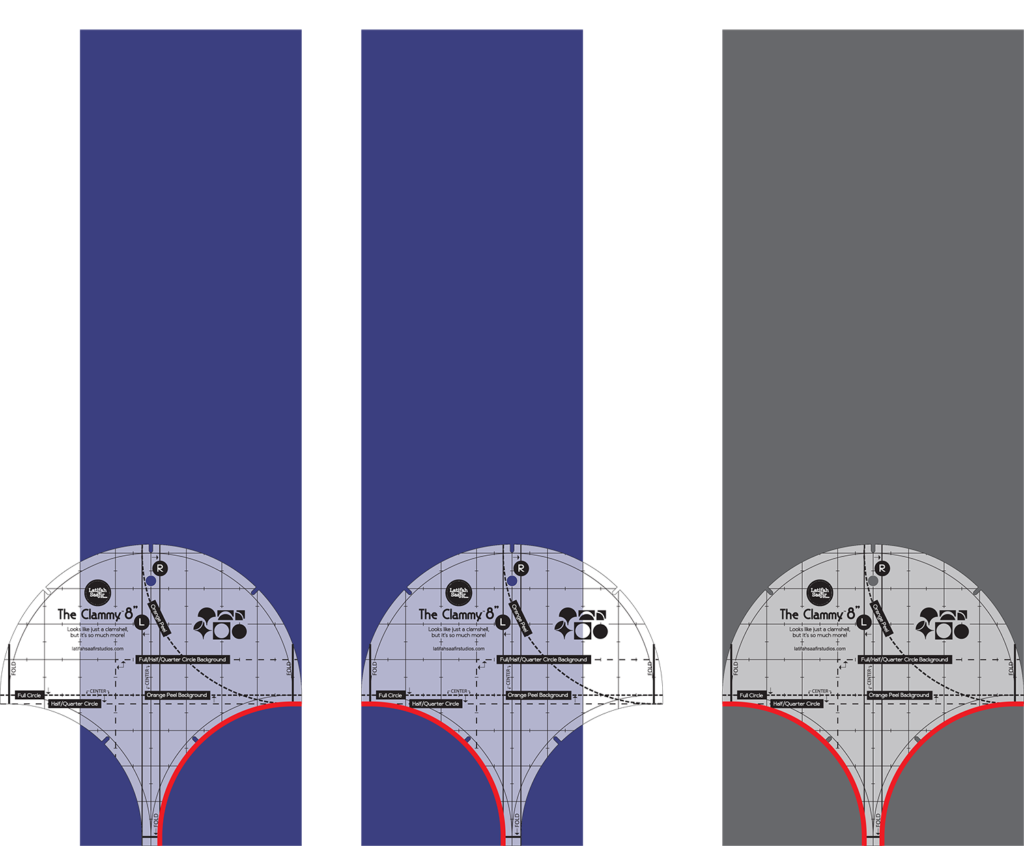
Then place The Clammy™ at the very bottom of the fabric strip (as shown in the photo), align sides and cut the bottom curve for B1/B2 and both bottom curves for C as indicated by red lines. Note: Do this on top of a mat where you can see the grid easily. Align the sides of the fabric strip with the grid and this way you can make sure that The Clammy™ is positioned correctly.
Stripes Below Clamshells
To create the stripes below the Clams you do the same! Maintain the width of the Initial Cut dimension for Bottom Left (E1), Bottom Right (E2) and Bottom Center (F). Add the number of your desired stripe height to the second number. (Page 11 in the printed pattern, Page 7 in the PDF.)
For my example I would like my stripes to be 32 below the clams”
E1/E2 was 6¼” x 6¼” it became 6¼” x 38¼”
F was 8½” x 6¼” and it became 8½” x 38¼”
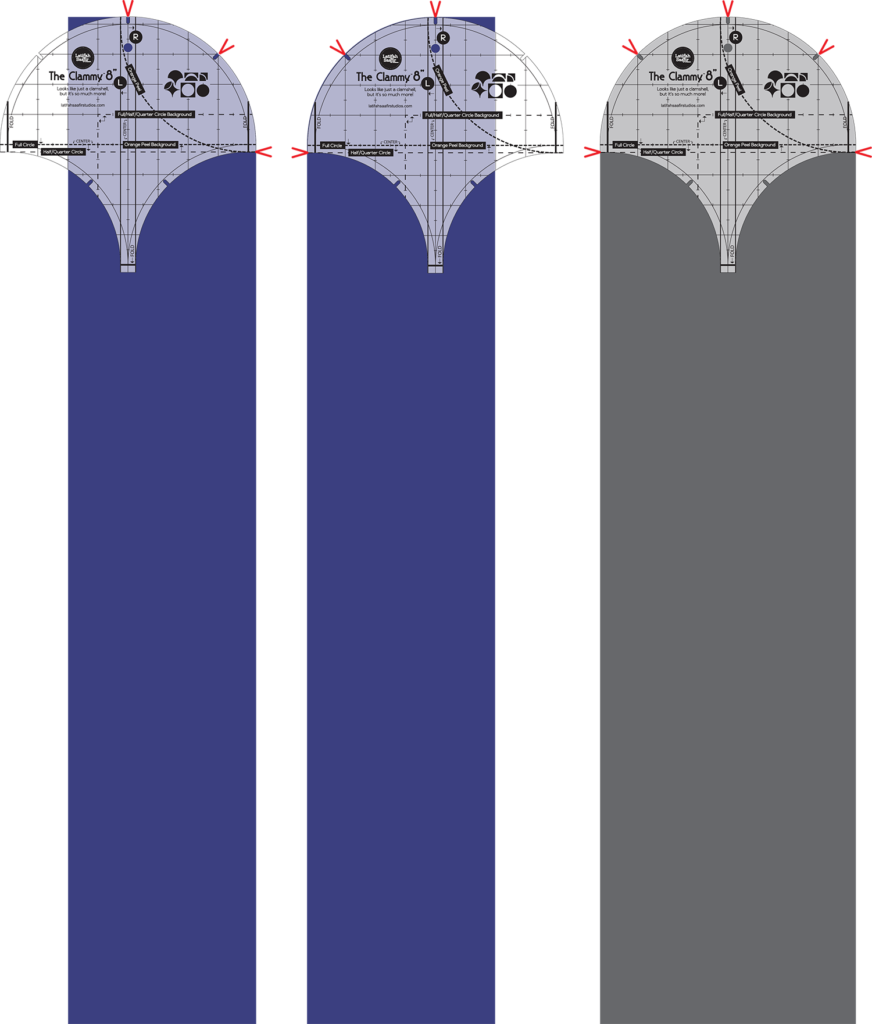
To cut place The Clammy™ at the very top of the fabric strip (as shown in the photo), align sides and cut the top curve (stopping at center of Clammy™) for E1/E2. Cut full top curve for F as indicated by red lines. Once again place fabric strips on top of mat so that you can more easily align the Clammy™ before cutting.

Recipe for Lap Size (64″ x 72″) made with The Clammy™ 8″
- The Clammy™ 8″
- 1 layer cake with 42 – 10″ squares (or approximately 2+ yds fabric)
- 1¾ yd Stripe Fabric 1 (Essex Peacock in example quilt)
- 1¾ yd Stripe Fabric 2 (Essex Indigo in example quilt)
Cut Clams and Side Clams from Layer Cake Fabric
Cut 38 8″ Whole Clamshells (A)
Cut 2 Side Left (E1)
Cut 2 Side Right (E2)
Pre-cut Fabric 1
First cut yardage 23″ x WOF. From this subcut 2 – 6¼” x 23″ and 3 – 8½” x 23″.
Cut remaining yardage 39″ x WOF. From this subcut 2 – 6¼” x 39″ and 3 – 8½” x 39″.
Pre-cut Fabric 2
First cut yardage 23″ x WOF. From this subcut 4 – 8½” x 23″.
Cut remaining yardage 39″ x WOF. From this subcut 4 – 8½” x 39″.
Cut Stripes
Cut Top Left (B1) and Top Right (B2) from the 2 Fabric 1 6¼” x 23″ strips using instructions above. Note fabric placement if fabric is directional. Cut Centers (C) from all 7 Fabric 1 and 2 8½” x 23″strips.

Cut Bottom Left (E1) and Bottom Right (E2) from the 2 Fabric 1 6¼” x 39″ strips using instructions above. Note fabric placement if fabric is directional. Cut Bottom Centers (F) from all 7 Fabric 1 and 2 8½” x 39″strips.

Lay your quilt out and make decisions on the final arrangement.
Registration marks for Clamshells
Press registration marks for Whole Clamshells (A) and Side Left (D1) and Side Right (D2) as shown in pattern. (pp. 14/15 in printed pattern, pp 9 in PDF) Check out the YouTube video that shows you how to press registration marks here! Stack rows from left to right and place a Row Label (found in Glam pattern download) on top to keep track of the order.
Registration marks for Stripes
I usually prefer pressing registration marks. But, it is a bit easier to mark registration marks for the stripes – especially the bottom stripes. Place The Clammy™ on top and mark registration marks as shown in the following pictures. Mark on the RIGHT SIDE of the Bottom Left (E1), Bottom Right, and Bottom Center (F) Clams. Mark on the WRONG SIDE of the Top Left (B1), Top Right (B2) and Top Center (C).

Sewing
This sews together almost identical to the standard Glam Clam. So if you’ve made one then you’ve got this! Follow the pattern for construction directions. And be sure to check out the YouTube videos as well! There are just a few seams that are a LOT longer. When in doubt pin at the registration marks and then along the long sides. Remember we have you generous room for squaring down at both the top and the bottom of this quilt!
I hope you enjoyed this Pattern Hack and can’t wait to see you play with this idea!
Happy Sewing!
Latifah